It's very easy to create a new virtual machine on Oracle VM 3.0.3 if you are lucky and insist to solve some issues like those I had...
I'd like to write about them soonest...
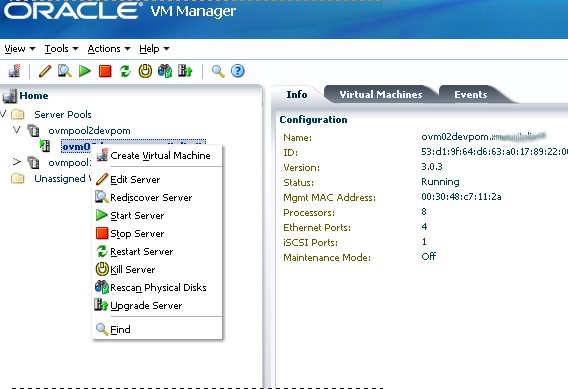
The first issue was about the dom0 installation...the first guest operating system you have to install on the server... the so called Oracle VM Server.
After inserting the dvd into the server the installation hangs while loading /boot/xen.gz.
This was due in my case because "console redirection" option was enabled on my BIOS menu.
As suggested in this link
http://support.citrix.com/article/CTX116361 the workaround is to go to the Advanced menu of your BIOS and disable or change it to COM1. In my case it was COM2 and I changed it in COM1.
The second was about how Oracle VM Server considers unused disk space on local disk. The first time I installed the Oracle VM Server I had two RAID local disks for a total capacity size of 500GB. I used some space for the Oracle VM Server installation and planned to use the other space to my virtual machines. After completed this step, completed the Oracle VM Manager installation on another server I discovered that Oracle VM Server was not able to create any virtual machine on local free space because it simply didn't know the existence !!! There were lot of GB available but Oracle VM Server didn't see them.
The solution was in the User's Guide for Release 3.0.3 at this link
http://docs.oracle.com/cd/E26996_01/e18549/CHDIGACB.html
"
If an Oracle VM Server has unused hard disks, they can be used as local storage for your environment. On condition that these spare disks are completely empty, meaning they have no partitions or file systems, they are included automatically in the local storage array of the Oracle VM Server."
My free disk space was not formed by RAW data... so I had to format all the disks, create a little partition for Dom0 and let the other disk space as RAW data... no partition at all.
In that way I was able to see from the Oracle VM Manager the disk on Oracle VM Server as "local storage device"
The third problem was about how to read the iso image of Linux distribution to install on the new virtual machine. The only solution that worked for me was to configure an http server on a local machine and boot the "future" virtual machine from network... Even already imported ISO from Oracle VM Manager wasn't useful to start the installation process.
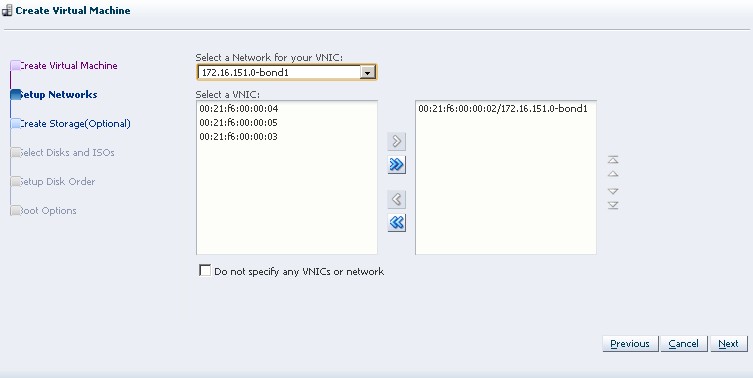
The fourth problem was about the para-virtualized operating system option while installing the virtual machine. Just remember to check if your cpu support x86 Virtualization (for Intel is VT-x)
more /proc/cpuinfo |grep vmx
If no results are shown then you have to use only Xen PVM as Domain Type (it's all described in the following screenshot), otherwise (you have a cpu supporting hardware virtualization) still remember to enable this feature from BIOS. Anyway that was not my case.
It will continue on next
step.