step 1
step 2
Now it's time to install a database using dbca. The following is just a simple screenshot I want to share for pure curiosity: it shows my Linux desktop running a virtualized Windows machine (I need it for my daily job to run TOAD) and from this Windows machine I'm running the NOMACHINE NX client connected to the graphic interface of my Oracle VM virtualized Linux box.

Just have a check of the Oracle environment and start dbca utility:

Click NEXT on the Welcome screen:

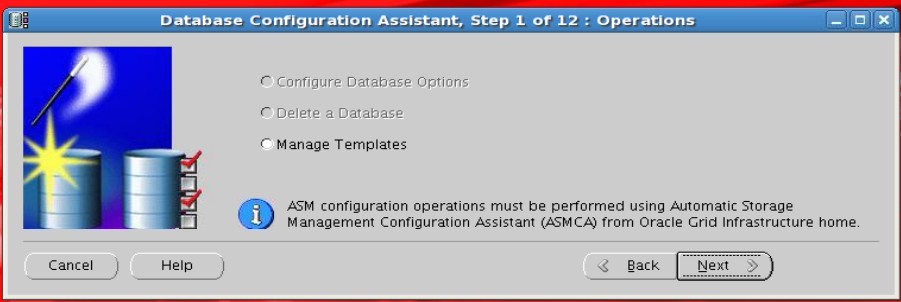
Click NEXT on the OPERATIONS screen:
On the screen of Database Templates I choosed "General Purpose or Transaction Processing" as template:

My global database name is DB01prmr:

I want to configure the Enterprise Manager at first...

... but I need to set up a listener.

So run netca utility

On the Welcome screen choose "Listener configuration":

Choose ADD:

Enter the name of your listener:

Select protocols to configure for the listener:

I want to use the standard 1521 port (I'm in a test environment):

And I don't want to configure another listener:

Click NEXT

Click FINISH to close netca utility:

On the terminal screen you can see some logs printed by netca utility:

Just have a look at the status of your listener and see if it's working:

Click OK on the WARNING screen

And now that we have our listener and it's running click NEXT

I use the same password for all administrative accounts:

And click YES if you want your password unsatisfy Oracle recommended password complexity policy:

Select File System as Storage Type (I didn't installed any ASM instance before...) and use a common location for all database files:


Choose the flash recovery area size and then click NEXT (I didn't enabled archive log mode at this step):

Select sample schema if you want to install them as I did:

Set up initialization parameter for Memory:

and Processes (I modified it with 500):

Click NEXT (I will review this storage configuration later):

Check CREATE DATABASE and click FINISH:

Confirm clicking on the OK button

And wait the database creation to be completed:

The latest screenshot from dbca is the following:

The smon process is running:

Next steps are here: Previous steps are here:
step 4
step 5